AVR bootloader replacement
Disclaimer : Using ISP is NOT needed, causes unnecessary complications and inconvenience, it voids warranty and is NOT supported.
The main source of information about the boot loader is here : GenBoard/Firmware/BootLoader.
Due to a failure with the electrical system in the car we had to replace the old AVR, the new chip was missing a boot loader so this page is about what was done to program the AVR.
The tools used to program the AVR is avrdude : [download here]. Or you can use the open source software development tools for the Atmel AVR, [WinAVR] includes avrdude.
As a regular user you can upgrade the bootloader with [VemsTune] by requesting bootloader hex file. Submit your serialnr and original orderID or at least name of customer who purchased assembled controller or board. Without the proper serialnr the software will not work properly.
Either way you go about it, the bootloader can't be upgraded if the correct fuses and lock bits in the AVR chip are not set correctly. If that happens you need an ISP cable and the avrdude software, read on below.
After the bootloader is uploaded
- Upload firmware with VemsTune (Tools / Firmware upload)
- See File / firmware info
- Check your serialnr and firmware version
Using avrdude
To burn the fuses and lock bits, use this code:\nÿ1ÿ
Note that lock=3C is recommended (not lock=3F) to allow bootloader-upgrade later.
At this point regular users can use [VemsTune]. If you are an advanced user/developer, then use avrdude for programming the actual bootloader file :\n
D:\VEMS>avrdude -c bsd -p m128 -U flash:w:main.hex

avrdude: AVR device initialized and ready to accept instructions

Reading | ################################################## | 100% 0.00s

avrdude: Device signature = 0x1e9702

avrdude: NOTE: FLASH memory has been specified, an erase cycle will be performed

         To disable this feature, specify the -D option.
avrdude: erasing chip
avrdude: reading input file "main.hex"
avrdude: input file main.hex auto detected as Intel Hex
avrdude: writing flash (131072 bytes):

Writing | ################################################## | 100% 50.61s

avrdude: 131072 bytes of flash written
avrdude: verifying flash memory against main.hex:
avrdude: load data flash data from input file main.hex:
avrdude: input file main.hex auto detected as Intel Hex
avrdude: input file main.hex contains 131072 bytes
avrdude: reading on-chip flash data:

Reading | ################################################## | 100% 48.36s

avrdude: verifying ...
avrdude: 131072 bytes of flash verified

avrdude: safemode: Fuses OK

avrdude done.  Thank you.
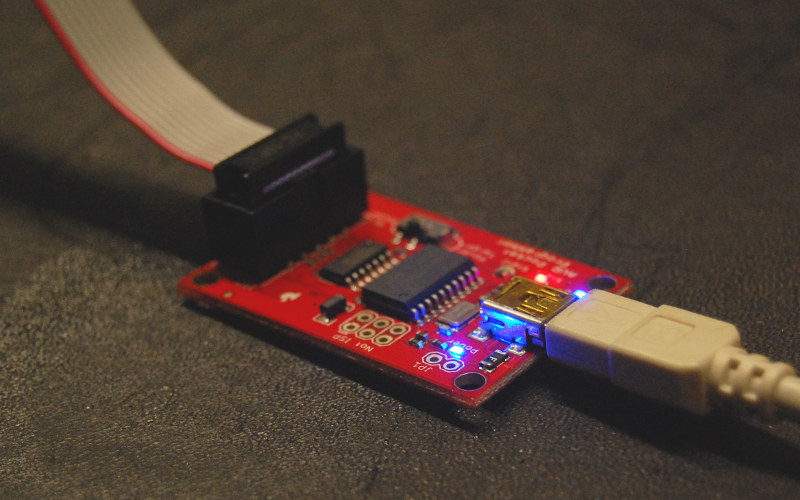
ISP via AVR Pocket Programmer
This USB programmer can be purchased through the webshop :
- [AVR ISP cable USB] in the adapter cables category.
- Command syntax : avrdude -c usbtiny -p m128 ...

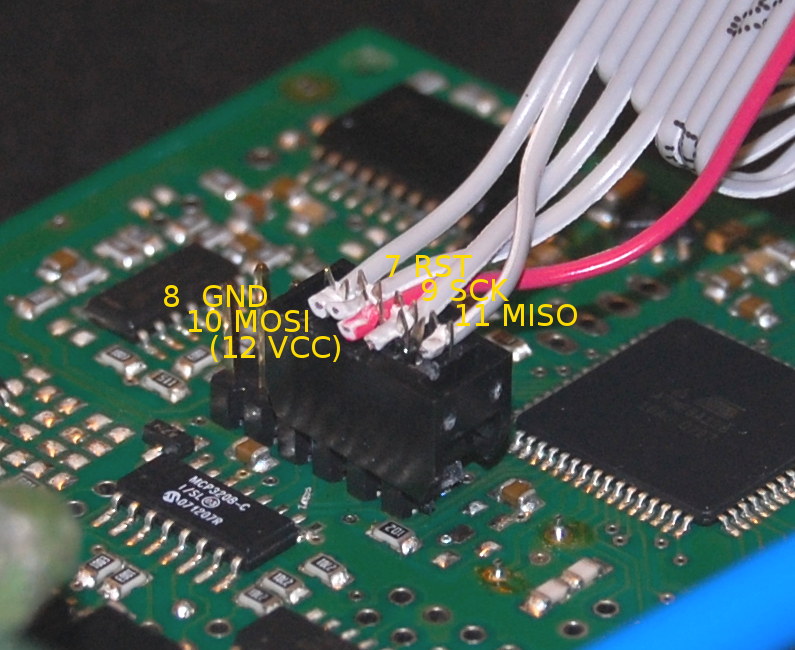
The cable that comes with the programmer does not match the pinout. The v3 ISP header pinout (with comments) can be found [here]. Do not connect VCC if the Genboard is powered through EC36-pin25 (+12V).

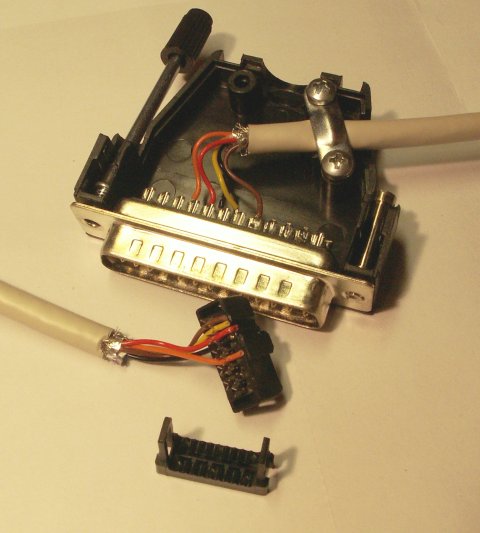
ISP via Parallel port
- You may have to install giveIO usually found in c:/winavr/bin/install_giveio.bat to enable direct access to the parallel port.
- Command syntax : avrdude -c bsd -p m128 ...
| AVR pin command | ISP header # | Parallel port pin | Notes |
| AVR /RESET | 5 | 7 | Yellow |
| AVR SCK (clock input) | 3 | 8 | Black |
| AVR PDI (RXD) (instruction in) | 4 | 9 | Red |
| AVR PDO (TXD) (data out) | 1 | 10 | Orange |
| Signal Ground | 6 | 18 | Brown |
Correct pins from the schematics AVR pin 2 = RXD/PDI -> ISP header Pin4, AVR Pin3 = TXD/PDO -> ISP header pin 1
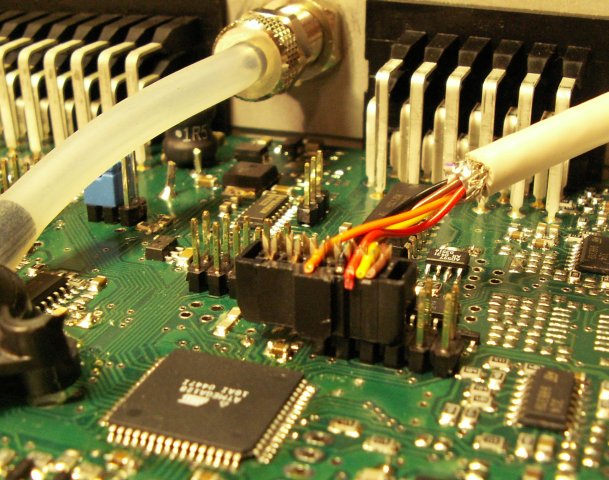
This is what it looked like:

